How to Do a Simple Arabic Henna Design on the Back of the Hand
Henna, or Mehndi, is an ancient art form that has graced the hands and hearts of people across the Middle East and South Asia for thousands of years. While Indian designs are known for their dense, intricate patterns that cover every inch of skin, Arabic henna is celebrated for its elegance, flowing lines, and strategic use of "negative space." This style is particularly flattering on the back of the hand, where the natural contours of the skin allow the vines and floral motifs to "breathe." For beginners, mastering this art is a journey of hand-eye coordination and patience. Many enthusiasts choose to skip the trial-and-error phase by enrolling in a professional Henna Course Online to learn the secrets of cone control and paste consistency. Whether you are preparing for a festive occasion or simply want to express your creativity, a simple Arabic trail is the perfect starting point.
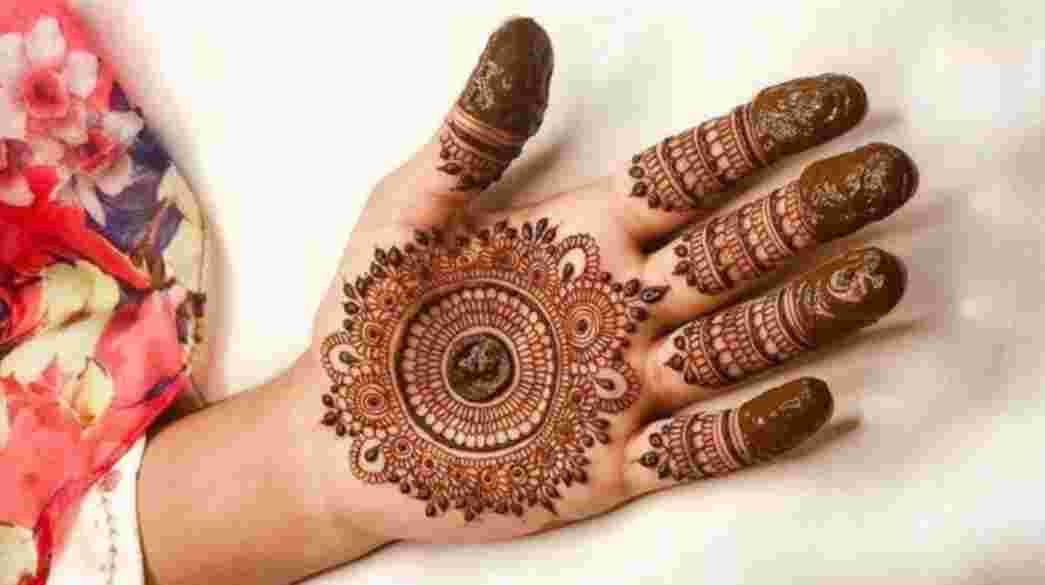
Arabic designs are characterized by their bold strokes and floral clusters that typically travel diagonally from the wrist toward a single finger. Unlike symmetrical mandalas, these patterns feel like "poetry in motion," imitating the way vines grow in nature. Because the designs are less crowded, they also dry significantly faster, making them a practical choice for those who are new to the medium. To create a successful design, you must understand that the space you don't fill is just as important as the space you do.
Preparing Your Canvas and Henna Cone
Before you begin drawing, the preparation of your skin and your tools is paramount. Henna is a natural dye derived from the Lawsonia inermis plant, and it reacts best with clean, warm skin. Start by washing the back of your hand with soap and water to remove any lotions or oils, which can act as a barrier and prevent the dye from staining deeply. If your skin is particularly oily, a quick swipe of rubbing alcohol can ensure a pristine surface. Choosing the right henna cone is equally important; for beginners, a pre-rolled cone with a fine tip is easier to handle than a bulky applicator. If you find the cone difficult to squeeze, you might need to trim a microscopic sliver off the tip, but be careful—a hole that is too large will lead to messy, thick lines that are hard to control.
Creating the Central Floral Motif
The "hero" of a simple Arabic design is usually a large, central flower placed on the back of the hand, slightly off-center toward the wrist. To start, draw a small, solid dot and surround it with a clean circle. From this circle, build your petals using "U" or "C" shaped strokes. In Arabic style, petals are often shaded or outlined with a thicker border to make them pop. This technique creates a beautiful 3D effect once the paste is removed. If you struggle with getting the proportions right, don't worry; even professional artists rely on the fundamental shapes taught in a henna course to build their masterpieces. The key is to keep your pressure even so the lines don't look "bumpy."
Once the central flower is complete, you can add "leaves" or "teardrops" around it to give it more weight. In Arabic art, leaves are often filled with thin, parallel lines or left empty with just a bold outline. This contrast between thick and thin lines is what gives the design its signature sophisticated look. If you accidentally smudge a line, use a dampened cotton bud or a toothpick to quickly wipe it away before it dries.
Extending the Trail and Finger Details
With your central motif established, it is time to create the "trail" that connects the wrist to the fingers. Draw a curved, flowing line (a "Bel") starting from the side of your central flower and heading toward your index or middle finger. Along this vine, add smaller buds, swirls, and tiny leaves. This trail should look effortless, as if the design is naturally cascading across your hand. Many beginners find that their designs look "stiff"; to avoid this, try to move your hand in one fluid motion rather than making small, jagged marks. This fluid motion is one of the "pro-tips" emphasized in a professional henna course to ensure the design looks professional and clean.
Don't forget the fingers! A back-of-the-hand design looks incomplete without coordinating patterns on the phalanges. For a simple look, repeat a small version of your leaf or flower motif on the tip of the finger that your trail leads to. You can also add "rings" made of dots or thin horizontal lines at the base of each finger to create a jewelry-like effect.
Aftercare for a Rich, Dark Stain
The work doesn't end once the design is finished. The quality of your henna stain depends heavily on how you treat the paste while it's drying. You should leave the paste on your skin for at least 4 to 6 hours—overnight is even better for a deep, mahogany color. Once the paste is completely dry, avoid washing it off with water. Instead, gently scrape the dried flakes off with your fingernail or a blunt butter knife. If the flakes are stubborn, you can apply a bit of coconut or olive oil to soften them. This oil also acts as a sealant, protecting the fresh stain from the air and helping it darken over the next 24 to 48 hours.